8 Steps to a Better Deck
Mar 28, 2017 04:31AM ● By Family Features
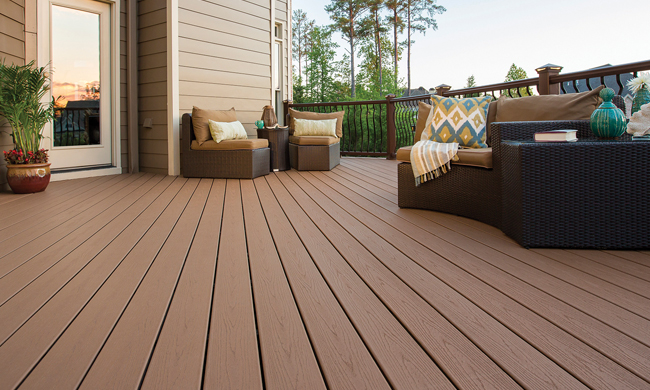
The season of backyard barbecues and outdoor entertaining is here, but for thousands of homeowners with worn out wooden decks, the return of warmer weather means one thing: deck repair and maintenance.
The time and energy required to strip, sand and stain a wood deck could instead be used to replace those old boards with new ones made of high-performance, low-maintenance composite material. Wood-alternative decking, like Trex, is resistant to fading, staining, scratching and mold and, unlike wood, requires no sanding, staining or painting. Just an occasional soap-and-water cleaning is all that is needed to retain a “like-new” appearance and durability for decades.
Where designing and building a new deck from scratch can take months, resurfacing an existing deck is a doable DIY project that can be completed over the course of a weekend. If your deck is more trouble than its worth, recruit a few friends and follow these eight steps to a new deck that you can spend less time maintaining and more time enjoying.
For more details, watch this step-by-step video covering the deck resurfacing process. When you’re ready to begin, take advantage of Trex’s online sample program to see firsthand how different colors and textures work with your home’s architecture and decor, and learn more about the full range of high-performance, low-maintenance outdoor living products at trex.com.
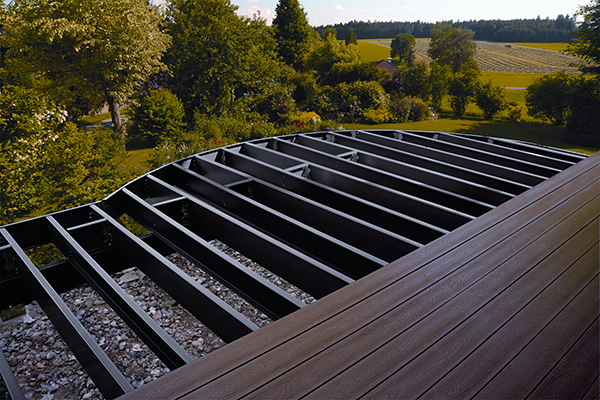
Step 1: Examine the Substructure
Before removing any boards, check your deck’s joists and the overall condition of the framing to ensure the substructure is sound before proceeding. If the foundation and deck framing system are sound, you can move on to the next step.
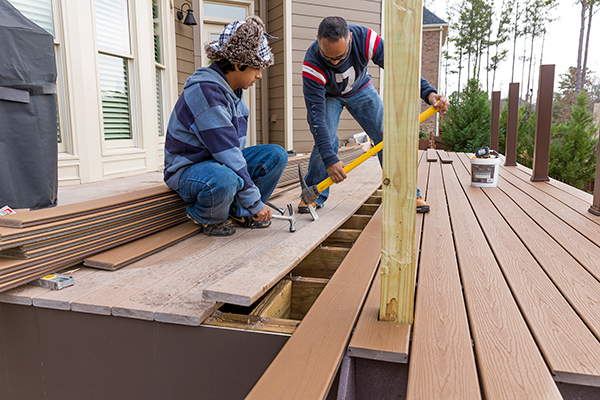
Step 2: Remove Old Deck Boards
After obtaining any necessary building permits, carefully remove and discard the old decking and railing, leaving the substructure and framing in place.

Step 3: Follow Your Guides
Inspect all framing and framing hardware for code compliance, structural integrity and compliance with your chosen decking material. Consult the decking manufacturer’s installation guide for specifics.
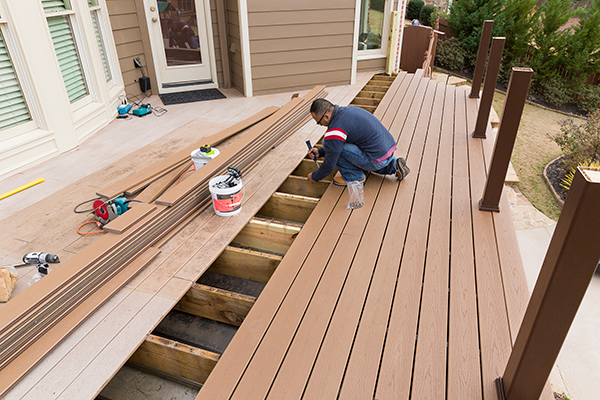
Step 4: Level It Out
To ensure a level surface for the new deck boards, make sure that the joists are level and even with each other. You may need to shave the joists to achieve this.
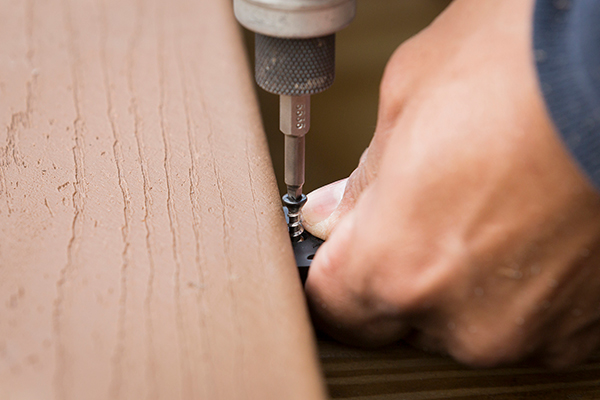
Step 5: Install New Deck Boards
Begin laying new deck boards. Closely follow the instructions for spacing from the manufacturer’s installation guide. Consult the installation guide regularly, and if you have any questions along the way, contact the professionals before proceeding.
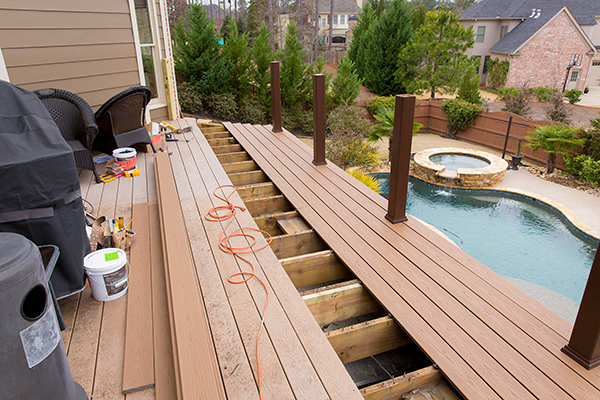
Step 6: Add Posts
Attach pressure-treated structural rail posts to framing as required by code and the installation guide.
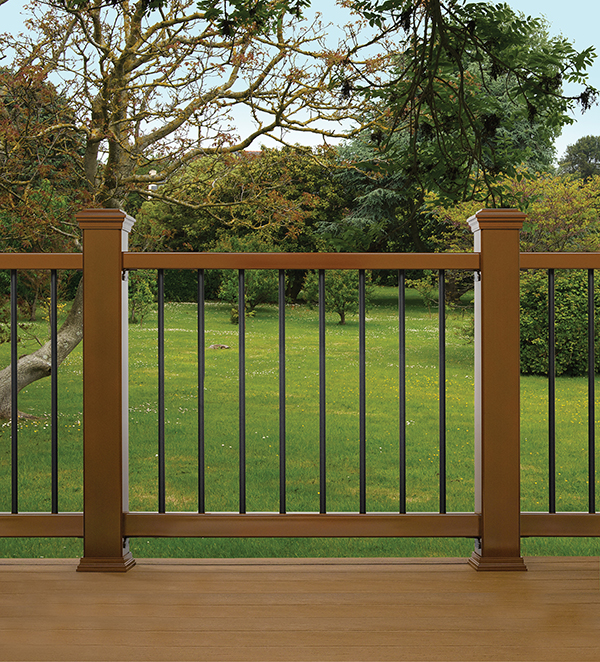
Step 7: Complete with Railing
Slide sleeves over the railing posts and assemble railing and balusters per the installation guide. Finish off by adding your choice of decorative elements, such as post caps or top rail caps.
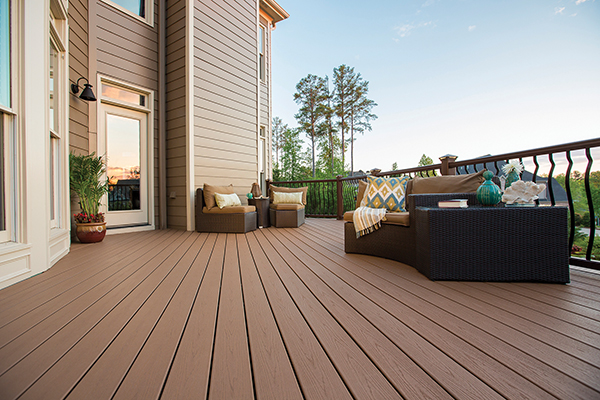
Step 8: Enjoy for Years to Come
Your deck makeover is complete, but your enjoyment is just beginning. With a 25-year Limited Fade and Stain Warranty, a Trex deck will look great for years to come.


